With a row of pasta machines (to condition the Studio Clay by Sculpey), several toaster ovens to cure the clay and a laser printer loaded with glossy paper, Jennifer Finley led us in a productive evening of creating low-relief polymer and paper texture plates.
Experimentation confirmed what the online tutorials told us - not all polymer clays will adhere to the toner on the paper - which is what pulls the design off and leaves the negative plate. Also, when using a commercial copier (such as Office Depot, Office Max, Staples, etc) be sure to specify LASER printer, not ink jet (which results in transfers, not tear-aways).
- burnish 2 minutes, rest, reburnish 2 minutes
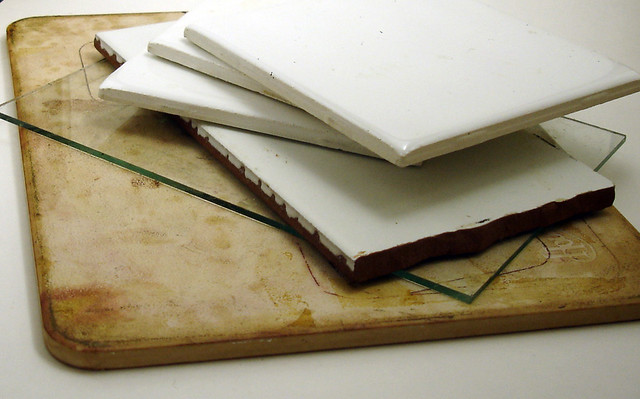
- work on small ceramic tile that will fit into the oven - moving clay from worksurface to tile causes ripples
- don't push too hard, but work to create friction heat
- pull paper away quickly - like a bandage
- back both clay and paper tear away to get a positive AND a negative plate of same design
- let clay cool before removing from baking tile
- use copies that have definition - no half-tones or too-fine lines


